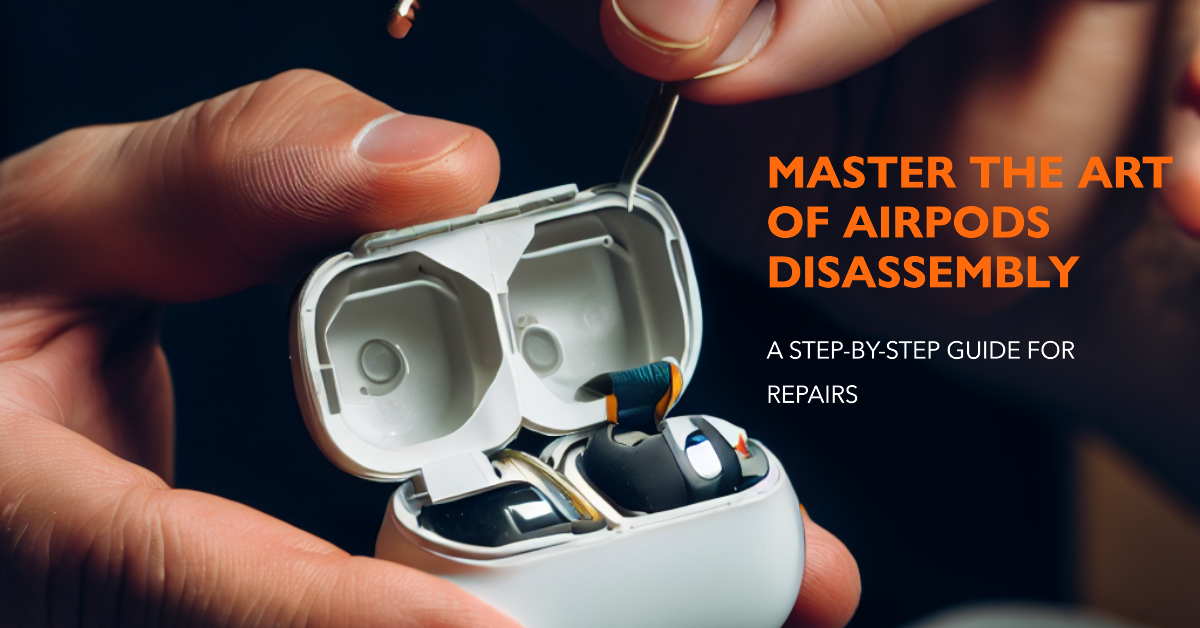
Have you ever looked at your trusty AirPods and wondered what’s inside those sleek white shells? I know I have. AirPods are more than just wireless earbuds; they are a marvel of modern technology. If you’ve ever been curious about the inner workings of these audio gems and have a knack for DIY projects, you’re in for a treat. In this comprehensive guide, I’ll walk you through the fascinating journey of disassembling your AirPods step by step. Be prepared to explore the inner world of your AirPods like never before. Airpods disassembly guide
Why Disassemble AirPods? The DIY Enthusiast’s Perspective:
Before we dive into the technical nitty-gritty, let’s talk about why you might want to disassemble your AirPods in the first place. For many DIY enthusiasts like myself, curiosity is the driving force. We’re drawn to the challenge of unravelling the intricacies of technology. It’s about understanding how these tiny devices deliver crystal-clear sounds and what makes them tick. Moreover, it’s about self-reliance and the satisfaction of knowing you can fix things on your own.
Tools and Preparations: Setting Up Your DIY Workspace:
Before we start, let’s gather our tools and set up a workspace. You’ll need a few essential items:
– A clean and well-lit workspace.
– A set of precision screwdrivers.
– Tweezers for handling delicate components.
– A spudger or plastic opening tool.
– A magnetic project mat to keep screws organized.
– Isopropyl alcohol for cleaning.
Remember, cleanliness and organization are key when dealing with small and sensitive electronics like AirPods.
Disassembly: Unlocking the Inner World of AirPods:
Now, let’s get to the heart of the matter – disassembly. I’ll walk you through each stage of this procedure:
- Remove the Ear Tips: Gently pull off the ear tips to expose the speaker housing.
- Opening the Case: Carefully pry open the AirPods case. Start at the seam where the lid meets the body and work your way around.
- Battery Removal: Inside, you’ll find the batteries. These are usually attached with adhesive. Use a spudger to carefully detach them.
- Speaker Housing: Beneath the batteries, you’ll discover the speaker housing. Remove the screws holding it in place and lift it off gently.
- Circuitry: Underneath the speaker housing lies the delicate circuitry. This is where the magic happens. Consider the intricate design for a moment.
- Disassembling the Earbuds: The earbuds themselves can be taken apart further, but be warned – this is where things get extremely intricate. Proceed with caution and only if you’re comfortable with advanced DIY projects.
Troubleshooting and Repairs: DIY Solutions for Common AirPods Issues:
One of the significant advantages of disassembling your AirPods is the ability to troubleshoot and perform DIY repairs. You can address the following typical problems:
- Battery Replacement: If your AirPods’ battery life has significantly decreased, you can replace the batteries yourself.
- Cleaning: Dust and debris can affect audio quality. A thorough cleaning can work wonders.
- Loose Connections: Sometimes, a simple reseating of connectors can resolve audio problems.
- Replacing Damaged Components: If you identify a damaged speaker or other components, you have the option to replace them.
However, it’s essential to note that DIY repairs have their limitations. Disassembling AirPods carries inherent risks, including damaging delicate components or voiding warranties.
Limitations and Risks: Understanding When to Seek Professional Help:
As much as we embrace the DIY spirit, it’s crucial to recognize its limitations. Some factors to consider include:
- Technical Skill Level: AirPods are intricate devices. If you lack technical expertise, it’s best to seek professional help.
- Warranty: Opening your AirPods may void the warranty. Assess whether the potential cost savings are worth the risk.
- Complex Repairs: Some issues, like soldering or replacing microcomponents, require advanced technical skills and equipment.
Reassembly: Putting It All Back Together:
If you’ve successfully troubleshooted and performed any necessary repairs, it’s time to reassemble your AirPods. Follow these steps in reverse order, ensuring you handle each component with care. Take your time and double-check connections and screws. Once reassembled, test your AirPods to ensure they work correctly.
Success Stories: DIY Triumphs and Lessons Learned:
Throughout my experience at Milaaj Mobile Repair in Bur Dubai, I’ve witnessed countless individuals who embarked on this DIY journey. Many have triumphed over audio issues, extended the life of their AirPods, and gained valuable technical knowledge. It’s inspiring to see the satisfaction and sense of accomplishment that comes from mastering the art of AirPods disassembly. Airpods disassembly guide
Conclusion: The Art of AirPods Disassembly: A Journey of Discovery:
In wrapping up our technical adventure, I encourage you to embrace the art of AirPods disassembly as a journey of discovery. It’s an opportunity to explore the inner workings of these remarkable devices, troubleshoot common issues, and even perform DIY repairs if you’re up for the challenge. However, always be aware of the limitations and risks involved.
Thank you for joining me on this fascinating journey into the world of AirPods disassembly. Whether you’re a seasoned DIY enthusiast or just a curious tech lover, I hope this guide has provided valuable insights into the inner workings of your beloved AirPods. Happy exploring!


Leave a Reply