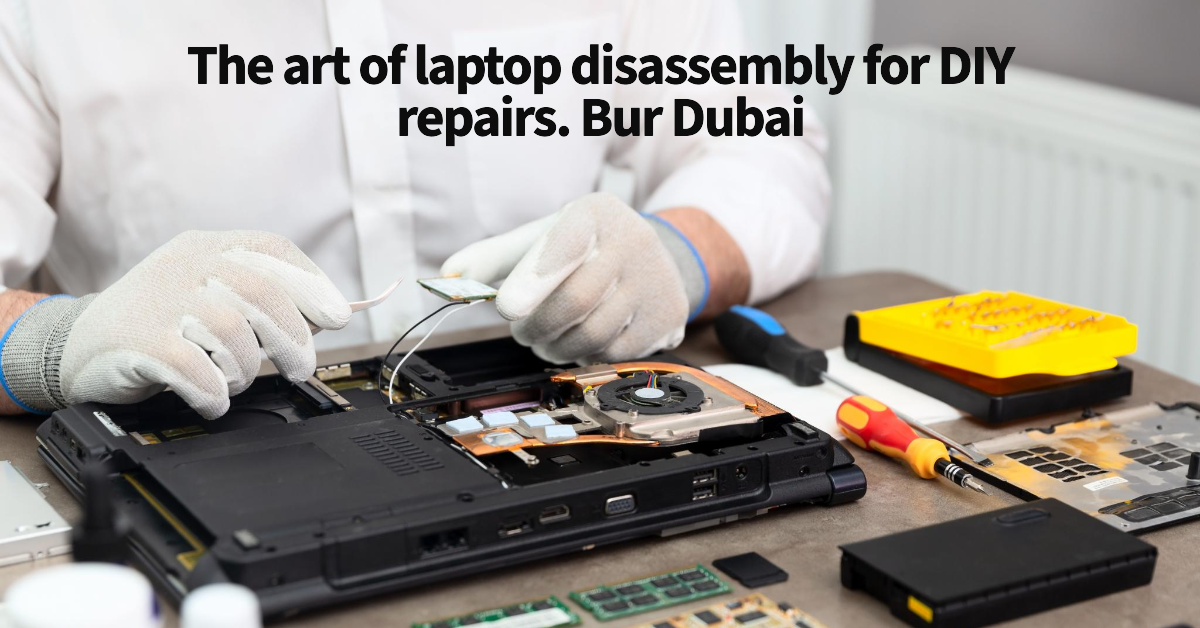
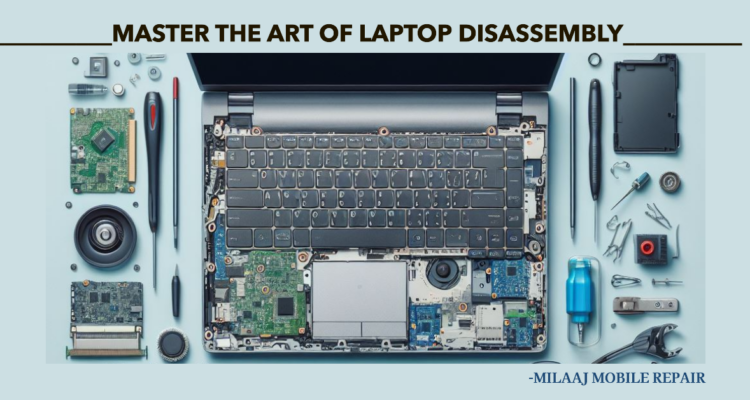
At Milaaj Mobile Repair, we understand the growing culture of do-it-yourself (DIY) repairs in the vibrant community of Bur Dubai. In this comprehensive guide, we aim to empower our readers with the knowledge and skills to master the art of laptop disassembly for DIY repairs. Bur Dubai, with its bustling atmosphere and tech-savvy residents, provides the perfect backdrop for fostering a community of self-reliant individuals keen on fixing their devices.
1: Understanding the Basics
To embark on a successful laptop disassembly journey, it’s crucial to grasp the fundamentals. Knowing the components of your laptop and having the right tools on hand is the first step. At Milaaj Mobile Repair, we recommend familiarizing yourself with the internal workings of your device and gathering essential tools such as screwdrivers, anti-static wristbands, and plastic pry tools. Additionally, we emphasize the importance of adhering to safety precautions to ensure a smooth and risk-free disassembly process.
2: Preparing for Disassembly
Creating an optimal workspace is key to a successful laptop disassembly. Clear your workspace, organize your tools, and prepare for the task at hand. Before diving into the disassembly process, don’t forget to back up your crucial data, power off the laptop, and disconnect it from any power sources. These initial steps set the foundation for a well-organized and secure DIY repair session.
3: Step-by-Step Disassembly Guide
1. Removing the Battery: The battery is usually the first component to be disconnected. Carefully follow the manufacturer’s instructions to safely remove the battery and minimize the risk of electrical accidents.
2. Accessing the Internal Components: Depending on your laptop model, gaining access to internal components may involve removing the bottom panel or keyboard. Milaaj Mobile Repair advises users to consult the laptop’s manual for specific instructions on accessing internal components.
3. Disconnecting Peripherals: Before delving into the intricate components, detach any external peripherals, cables, and connectors. This step ensures a smoother disassembly process and minimizes the risk of damaging delicate components.

4. Removing Screws and Components: Unscrew and remove components such as RAM, hard drive, and motherboard systematically. Take note of the location and type of screws to facilitate an easy reassembly process later.
5. Handling Delicate Components: Laptops house delicate components like screens and motherboards. Milaaj Mobile Repair emphasizes the need for gentle handling to avoid potential damage. Take your time and exercise caution when dealing with these sensitive elements.
6. Troubleshooting and Repairs: During the disassembly process, keen eyes may identify and address common issues. Whether it’s cleaning dust from the cooling system or reseating loose connections, this step allows for proactive troubleshooting and minor repairs.
7. Reassembly: Once the necessary repairs or upgrades are complete, it’s time to reassemble your laptop. Refer to your notes or the laptop’s manual to ensure each component is placed back correctly. Take extra care to reconnect all cables and peripherals.
4: Facts and Figures about Laptop Repair in Bur Dubai
with its diverse and tech-savvy population, has witnessed a remarkable surge in the DIY repair culture. Milaaj Mobile Repair is proud to contribute to this trend by providing valuable resources and support to the community. Statistics indicate a growing number of residents in Bur Dubai opting for DIY repairs, showcasing the independence and resourcefulness of the local community.
Conclusion:
In conclusion, mastering the art of laptop disassembly for DIY repairs is a rewarding skill, especially in a dynamic community like Bur Dubai. Milaaj Mobile Repair encourages our readers to embrace the DIY culture, contribute to the growing trend of self-reliance, and take charge of their device maintenance. Remember, safety and careful attention to detail are paramount. Should you ever feel uncertain, our team at Milaaj Mobile Repair is always ready to provide professional assistance. Happy repairing!


